“`html
Installing landscape lighting? NEVER skip these 5 steps
June 30, 2026
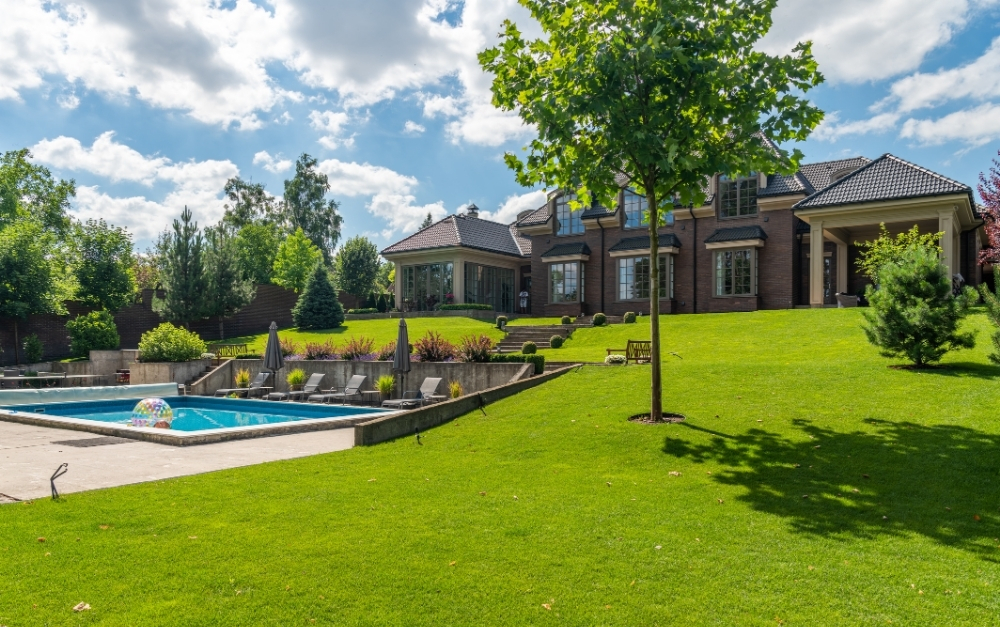
The right landscape lighting completely transforms your property after dark. Specifically, it highlights beautiful architectural features and guides guests safely down walkways. Furthermore, it lets you enjoy your outdoor living spaces long after sunset. However, designing a system that actually lasts involves more than sticking solar stakes into the grass. True, professional-grade outdoor illumination requires careful planning. Consequently, you need a bit of technical know-how.
The Lingo Group is right here in Chalfont, PA. We design and install custom landscape lighting setups all over Bucks County and the surrounding region. Over the years, our team has fixed plenty of failing DIY systems. Typically, they quit working way too soon because of simple, easily avoided mistakes. Therefore, we put together the five essential steps you should never skip. Ultimately, these steps ensure your lights look incredible and run safely for years.
What Makes a Great Landscape Lighting System?
Before jumping into the installation process, it helps to understand a premium system. High-end outdoor lighting relies on durable materials and balanced electrical engineering. For starters, you want architectural-grade fixtures. Specifically, choose components made from solid brass or copper. These metals naturally patina over time. Additionally, they handle harsh Pennsylvania freeze-thaw cycles without cracking or peeling.
Furthermore, you need a properly sized low-voltage transformer. This device safely drops your home’s standard 120V electrical current down to a safe 12V or 15V stream. Finally, a great design focuses on lighting the actual target. For example, aim at a beautiful tree, a stone wall, or a walkway. Do not leave a bare light bulb exposed. Instead, great lighting is all about enjoying a warm glow without staring directly into a blinding glare.
The 5 Essential Steps for Installing Landscape Lighting
Here is the step-by-step framework required for a permanent, high-performance outdoor illumination system, built to maximize curb appeal and system longevity.
| Step | Phase | Key Focus | Common DIY Mistake |
|---|---|---|---|
| 1 | Design & Layering | Creating depth with up, down, and path lighting | Blasting the home facade with blinding, flat floodlights |
| 2 | Fixture Selection | Using solid brass, marine-grade LED components | Buying cheap plastic or thin aluminum big-box fixtures |
| 3 | Voltage Drop Calculation | Sizing wire runs for perfectly uniform brightness | Overloading a single line, causing dim or flickering end-runs |
| 4 | Waterproof Connections | Utilizing sealed, moisture-proof wire connectors | Wrapping bare copper wires in cheap electrical tape |
| 5 | Nighttime Adjustment | Fine-tuning angles and glare shields after dark | Leaving bulbs misaligned, shining directly into windows |
1. Comprehensive Design and Layering
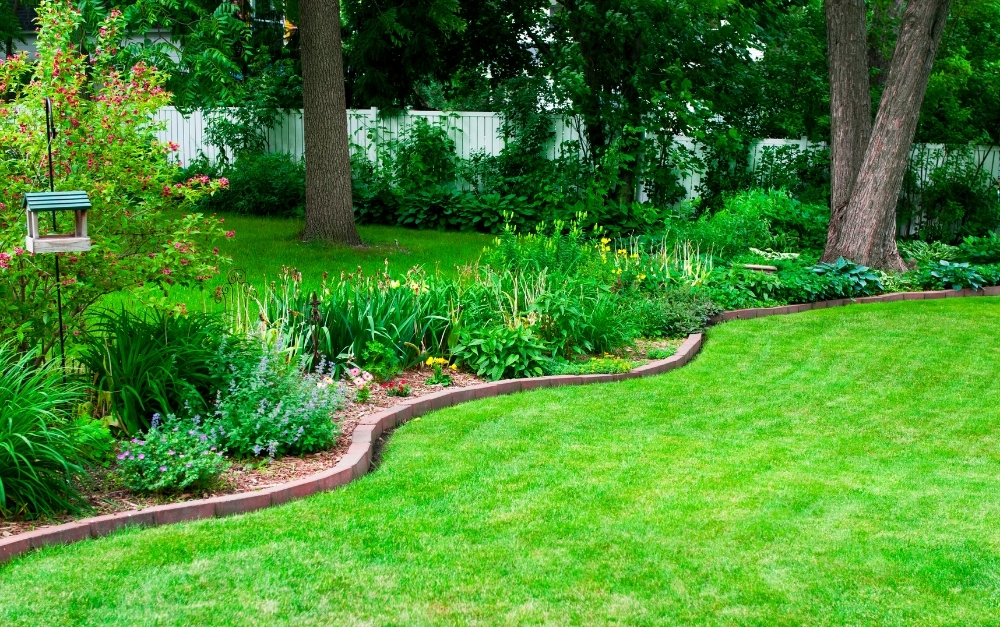
The most common mistake happens before a single wire ever hits the dirt. Specifically, homeowners often place fixtures in a straight row. As a result, the yard ends up looking like an artificial airport runway. Instead, professional landscape lighting relies on distinct layers. For example, use architectural up-lighting to add height. Additionally, install path lighting for safety and accent lighting to showcase focal features. To keep things looking natural, we follow guidelines from educational groups like DarkSky International. Consequently, this minimizes light pollution while maximizing your property’s nighttime beauty.
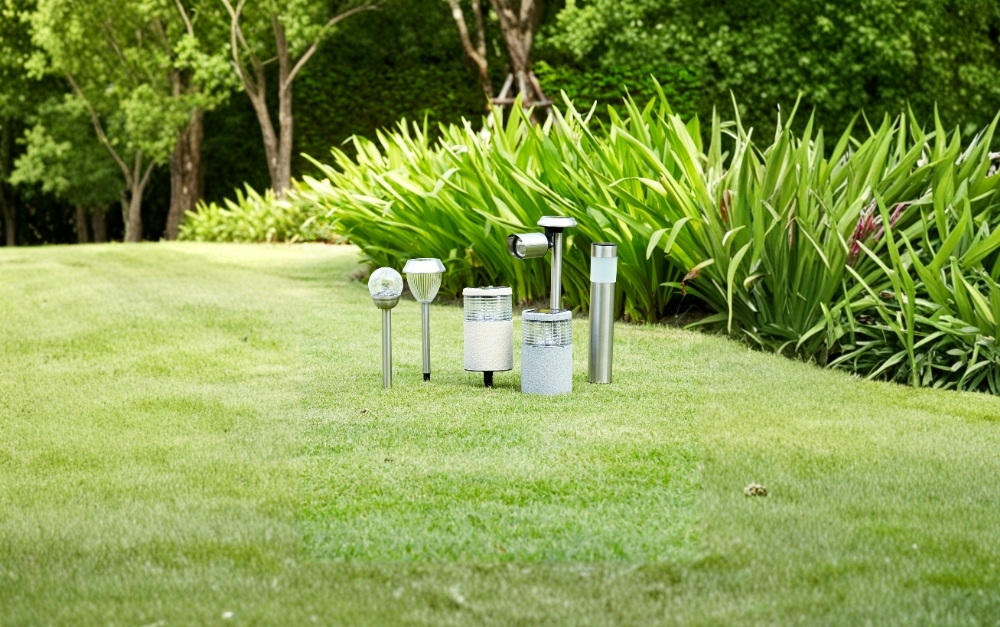
2. Choosing Commercial-Grade Fixtures
If you pick up cheap plastic or thin aluminum fixtures, you will likely regret it. In fact, you will probably replace them within a couple of seasons. By contrast, high-quality systems depend on heavy-duty solid brass components. These parts completely seal out moisture, dirt, and bugs. Therefore, we rely heavily on premium equipment from elite outdoor innovators like Coastal Source. Their patented design and marine-grade materials ensure everything lasts. Specifically, they withstand heavy rain, winter snow, and even rogue lawnmowers.
3. Calculating Voltage Drop Correctly
Electricity naturally loses a bit of its punch as it travels down a wire. Consequently, if your wire runs are too long, your lights will suffer. The same thing happens if your cable is too thin. For example, the fixtures at the end of the line will look noticeably dimmer than the first ones. Therefore, calculating voltage drop is essential. You must balance your total wattage against the length of your wire run. Afterward, you can choose the right voltage output on your transformer. This simple math keeps your lighting perfectly even across the whole yard.
4. Creating Waterproof Connections
Underground wiring lives in a damp, harsh environment. Unfortunately, the absolute number one reason DIY installations fail is poor wire splicing. Simply twisting wires together will cause quick corrosion. Likewise, using basic indoor wire nuts leads to electrical shorts. Instead, getting real longevity out of your landscape lighting requires specialized parts. Specifically, use heat-shrink connectors or grease-filled, moisture-resistant capsules. These components lock out water for good.
5. Nighttime Adjustments and Aiming
You cannot fully judge an outdoor lighting layout while the sun is up. Therefore, the final, critical step must happen after total darkness sets in. Walk your property at night to fine-tune the angles of your accent fixtures. Meanwhile, make sure the built-in glare shields block the direct view of the bulb. Check the view from your patio, walkways, and interior windows. Ultimately, this final pass turns a collection of bright bulbs into a cozy evening vibe.
Why Professional Design Outperforms DIY

Here is the honest truth that a lot of homeowners learn the hard way. Installing a great lighting system requires a deep understanding of your actual landscape. Standard electrical contractors know how to run wire. However, they do not always understand how trees grow. Furthermore, they may not know how to protect delicate root systems during trenching. They also fail to position a light to look good in both summer and winter.
The Lingo Group takes a landscape-first approach to every single project. Because our team handles full-scale landscaping, hardscaping, and outdoor construction, we naturally integrate your landscape lighting. Specifically, we weave it right into your yard’s living layout. For example, we install protective conduit beneath patio pavers and retaining walls during early construction. Consequently, this protects your investment and leaves your lawn looking totally untouched. You can see examples of our design work right on our Outdoor Audio and Lighting services page.
We proudly design and install custom systems for homeowners throughout Chalfont, Doylestown, New Britain, Warrington, Buckingham Township, New Hope, Lansdale, Horsham, Jamison, and the surrounding areas across Bucks and Montgomery County.
Frequently Asked Questions About Landscape Lighting
What is the best material for landscape lighting fixtures?
Solid brass and copper are the top choices for outdoor fixtures. Unlike aluminum or plastic, brass won’t rust, crack, or corrode. Specifically, it withstands Pennsylvania’s intense winter moisture and summer heat. It also naturally develops a beautiful patina over time. Consequently, it blends right into your garden beds.
How long do LED landscape lighting systems last?
A commercial-grade LED system can easily last 10 to 15 years or more. However, you must install it with waterproof connections. Modern LED chips are incredibly efficient. For example, they use up to 80% less energy than old halogen bulbs. Furthermore, they generate almost no heat.
Can I add new lights to an existing system later?
Yes, you can do that. However, your original transformer must have enough remaining capacity. Additionally, your wire runs must be sized correctly from the start. During our initial design consultations in Bucks County, we purposely spec oversized transformers. Therefore, we leave plenty of room for future landscape expansion.
How deep should landscape lighting wires be buried?
Low-voltage lighting cables generally need to be buried about six inches deep. They do not require the deep trenching of standard 120V lines. However, they should still be routed carefully. This precaution avoids accidental damage from future lawn aeration or edging.
Does landscape lighting require seasonal maintenance?
Minimal maintenance is needed. Nevertheless, an annual checkup is a smart idea. This process involves wiping down fixture lenses and clearing away overgrown foliage. Additionally, check for wire exposure from soil erosion. Finally, straighten up any fixtures that got bumped during heavy winter storms.
Ready to Transform Your Yard with Professional Landscape Lighting?
Skipping critical steps during installation leads to dim lights and shorted wires. Consequently, you waste time and money. Instead, partnering with a dedicated outdoor professional ensures your system operates flawlessly. Furthermore, it elevates your property’s nighttime aesthetics to a luxury standard.
We serve homeowners throughout Bucks County, Chalfont, Doylestown, Warrington, New Hope, Lansdale, Horsham, and the neighboring PA communities.
Contact The Lingo Group today to schedule your private design consultation. Therefore, we can build the perfect landscape lighting system for your home.
“`