

Outdoor Lighting Installation: 5 Steps You Should Never Skip
July 27, 2026
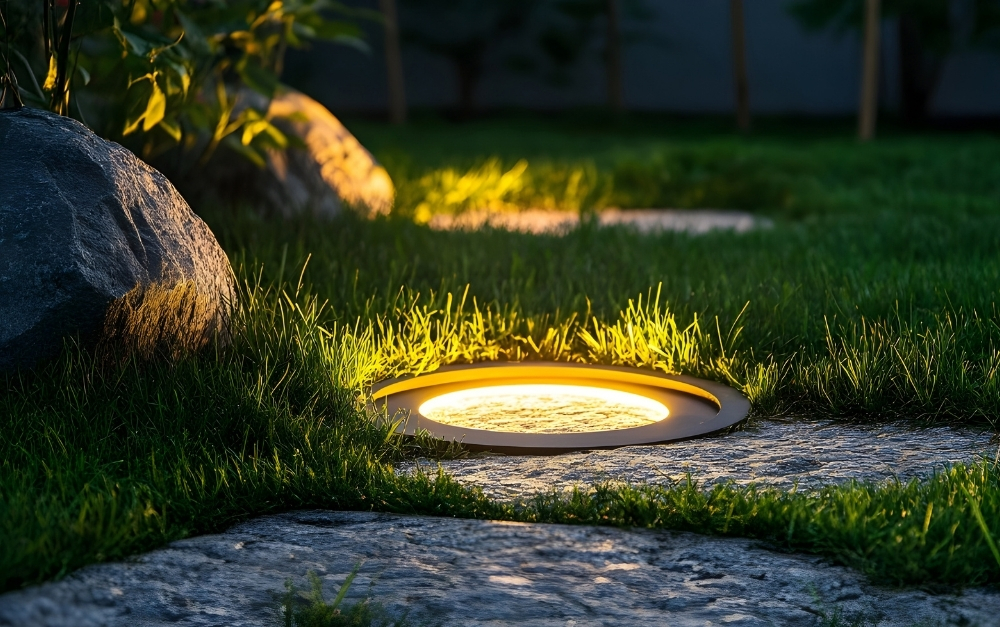
A good outdoor lighting installation does more than make a house look nice after dark. Specifically, it controls how people move through your property, where their eyes land first, and how safe the walk from the driveway feels. Furthermore, it protects the investment you already made in your landscaping, hardscaping, and architecture. Done poorly, though, it does the opposite. Glare, hot spots, and dark gaps make a beautiful yard look cheap.
Over the years, we have walked hundreds of properties across Chalfont, PA and the surrounding Bucks County towns. Consequently, we see the same avoidable mistakes again and again. Homeowners in Doylestown, New Britain, and Warrington often buy a big-box kit, push some stakes into the mulch, and wonder why it looks nothing like the photos. Therefore, this guide breaks down the five steps that separate a professional result from a disappointing one.
What a Proper Outdoor Lighting Installation Really Involves
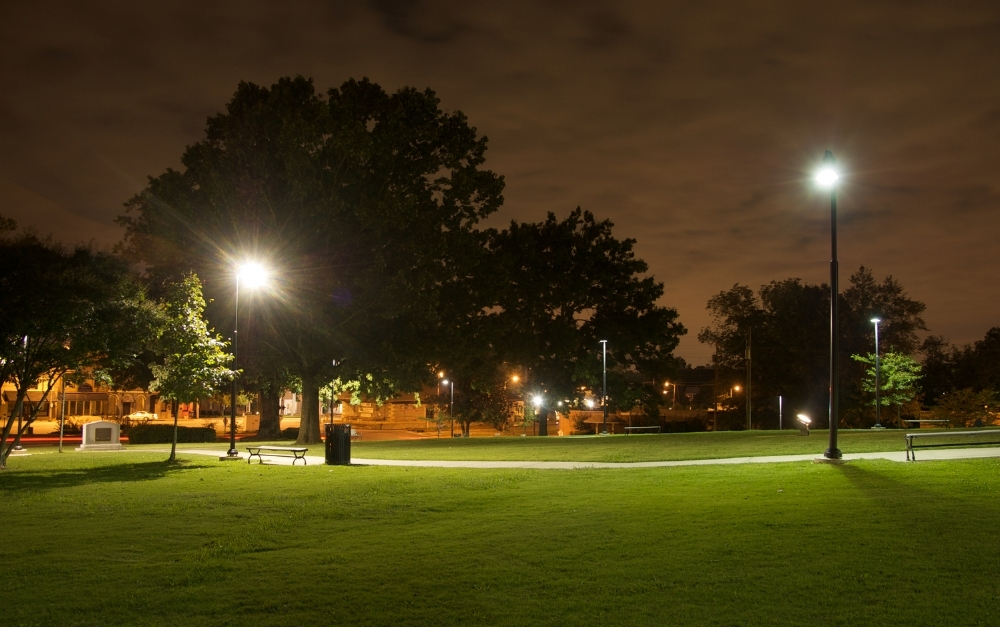
Most people think of lighting as a shopping problem. In reality, it is a design problem first. Specifically, the goal is layered light, not maximum light. You want a bright focal point, a softer middle layer, and just enough path illumination to guide the feet safely.
However, that layering only works when the electrical side is planned correctly. A modern outdoor lighting installation runs on low voltage, usually 12 volts, stepped down from line power by a transformer. Consequently, the transformer size, the wire gauge, and the run lengths all have to be calculated before anyone starts digging. Skip that math and your farthest fixtures will look dim and yellow within a few months.
For example, a 300 watt transformer feeding fixtures on a 200 foot run behaves very differently than the same transformer feeding a tight cluster near the house. Ultimately, the physics decides whether your lights match each other in color and brightness. Design intent alone will not save a bad wiring plan.
Fixture Types and Where They Belong
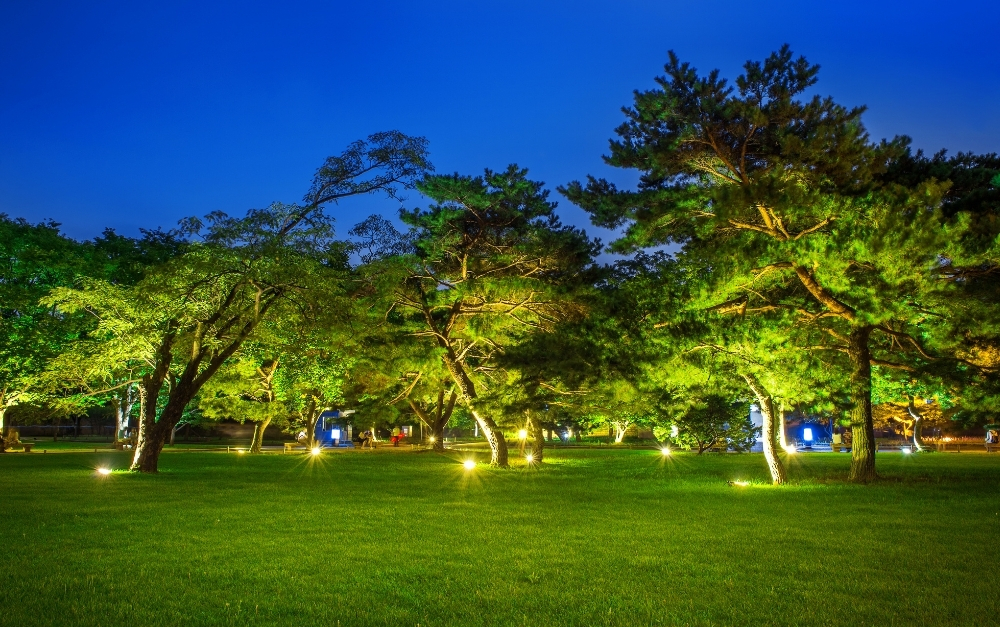
Before you choose a single product, it helps to understand what each fixture category is actually built to do. Below is the working breakdown our designers use on nearly every project.
| # | Fixture Type | Best Placement | What It Delivers |
|---|---|---|---|
| 1 | Path Lights | Walkways, garden beds, driveway edges | Safe footing and gentle spacing cues |
| 2 | Uplights and Spots | Tree trunks, stone facades, columns | Drama, height, and texture at night |
| 3 | Downlights | Mounted high in mature trees or eaves | Natural moonlight wash over large areas |
| 4 | Hardscape Lights | Retaining walls, steps, seat walls | Hidden glow with zero visible glare |
| 5 | Wash Lights | Wide flat walls, hedges, fencing | Even background fill without hot spots |
| 6 | Step and Riser Lights | Stairs, decks, pool surrounds | Direct safety lighting at ankle level |
1. Control Glare and Respect the Night Sky
Bright is not the same as good. However, that is the single hardest idea to sell to a homeowner holding a catalog. Shielded fixtures, proper aiming, and warm color temperature do far more than raw lumens. For a deeper look at responsible lighting practice, review the guidance published by DarkSky International. Ultimately, your neighbors in New Britain will thank you.
2. Buy Fixtures Built for Real Weather
Pennsylvania winters punish cheap metal. Consequently, thin aluminum housings corrode, lenses fog, and gaskets fail within two or three seasons. Instead, look for solid brass or copper with sealed connections. Manufacturers such as Coastal Source build specifically for that kind of exposure. Therefore, the higher upfront cost usually pays for itself twice over.
3. Calculate Voltage Drop Before You Dig
This is the step almost every DIY project skips. Specifically, voltage drops as it travels down the wire, so distant fixtures dim and shift color. Larger wire gauge, hub wiring, and multi-tap transformers all solve it. However, you have to plan those choices before the trench is closed.
4. Bury the Wire Properly the First Time
Wire that sits under mulch will get sliced by a spade within a year. Instead, bury runs six to eight inches deep, away from bed edges where crews trim. Furthermore, leave service loops at each fixture. That small habit makes future repairs simple rather than expensive.
5. Add Zones, Timers, and Smart Controls
A single on and off switch wastes the whole design. However, zoning lets you run the front facade nightly while the patio only lights when you use it. Astronomical timers adjust automatically as sunset shifts. Consequently, the system stays correct in December without anyone touching it.
Why Professional Design Outperforms DIY
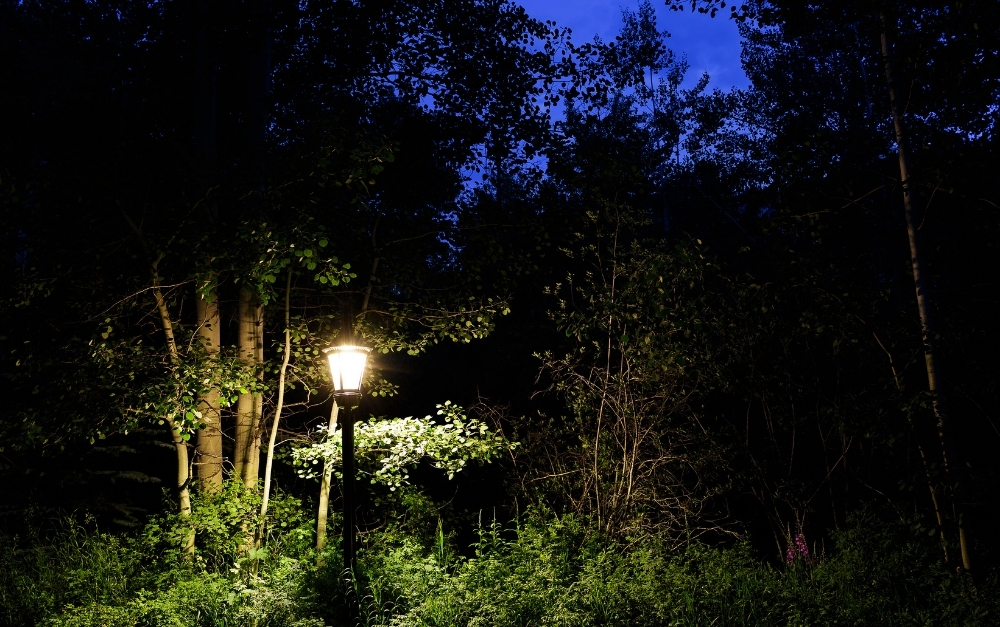
A kit gives you eight identical fixtures and no plan. A designer gives you a plan and then chooses fixtures to serve it. That difference shows up immediately after dark. Specifically, professional layouts hide the source and show only the effect, which is exactly what makes a property look expensive rather than decorated.
There is also the warranty question. Professionally installed brass systems typically carry lifetime fixture coverage, while retail kits rarely last past a few seasons. Furthermore, a designer handles permitting, transformer placement, and integration with existing audio or automation. You can see how we approach the full scope on our Outdoor Audio and Lighting services page.
Our crews work throughout Bucks County and Montgomery County every week. Specifically, we design and install in Chalfont, Doylestown, New Britain, Warrington, Buckingham Township, New Hope, and Jamison, along with Lansdale and Horsham just across the county line. Consequently, we know the local soil, the HOA rules, and the architectural styles that dominate each neighborhood.
Frequently Asked Questions About Outdoor Lighting Installation
How much does outdoor lighting installation cost?
Most complete residential systems in Bucks County land between $4,000 and $15,000. However, the range depends heavily on fixture count, material quality, and how much trenching the property needs. A focused front facade package costs far less than a full property design.
Do I need a permit for landscape lighting?
Usually not, since low voltage systems fall outside most permit requirements. However, the line voltage circuit feeding the transformer may need an electrician and an inspection. Therefore, we confirm local rules in each township before scheduling work.
How long does the installation take?
Most projects finish in one to three days. Specifically, a twenty fixture system on an average Doylestown lot is typically a single day. Larger properties with long wire runs and tree mounted downlights take longer.
Will the lights raise my electric bill much?
No, and this surprises people. LED fixtures draw roughly three to seven watts each. Consequently, a thirty light system running five hours a night usually adds only a few dollars per month.
Can you add lighting to an existing system?
Often yes. However, it depends on whether your current transformer has spare capacity and whether the existing wire gauge can support the additional load. Therefore, we always test the existing system before quoting an expansion.
Ready to Light Your Property the Right Way?
A thoughtful outdoor lighting installation is one of the few upgrades that improves safety, curb appeal, and usable evening space all at once. However, the result depends entirely on design discipline and quality components. Skip the five steps above and you will be replacing fixtures in three years.
We serve homeowners across Chalfont, PA, Doylestown, New Britain, Warrington, Buckingham Township, New Hope, Jamison, and the wider Bucks County area, along with Lansdale, Horsham, and communities throughout Montgomery County. Ultimately, every property gets a custom design rather than a template.
Ready to see what your home looks like after dark? Contact The Lingo Group today for a night demonstration on your own property.
If you are local to us, we design and install this work. Low-voltage lighting is named on our Pennsylvania contractor registration, and we cover Doylestown, Newtown, Warrington, Chalfont and Buckingham. See our outdoor lighting and audio service or all service areas, and call (215) 343-7700.